We use cookies to improve your online experience. By continuing browsing this website, we assume you agree our use of cookies.
Home > News & IEM Guides > Cables & Connections > How to Remove and Replace a Detachable IEM Cable
Sep.2026 27

How to Remove and Replace a Detachable IEM Cable

Introduction
Learn the preparation and handling checks for replacing an IEM cable, with separate guidance for two-pin and MMCX connectors.
Details

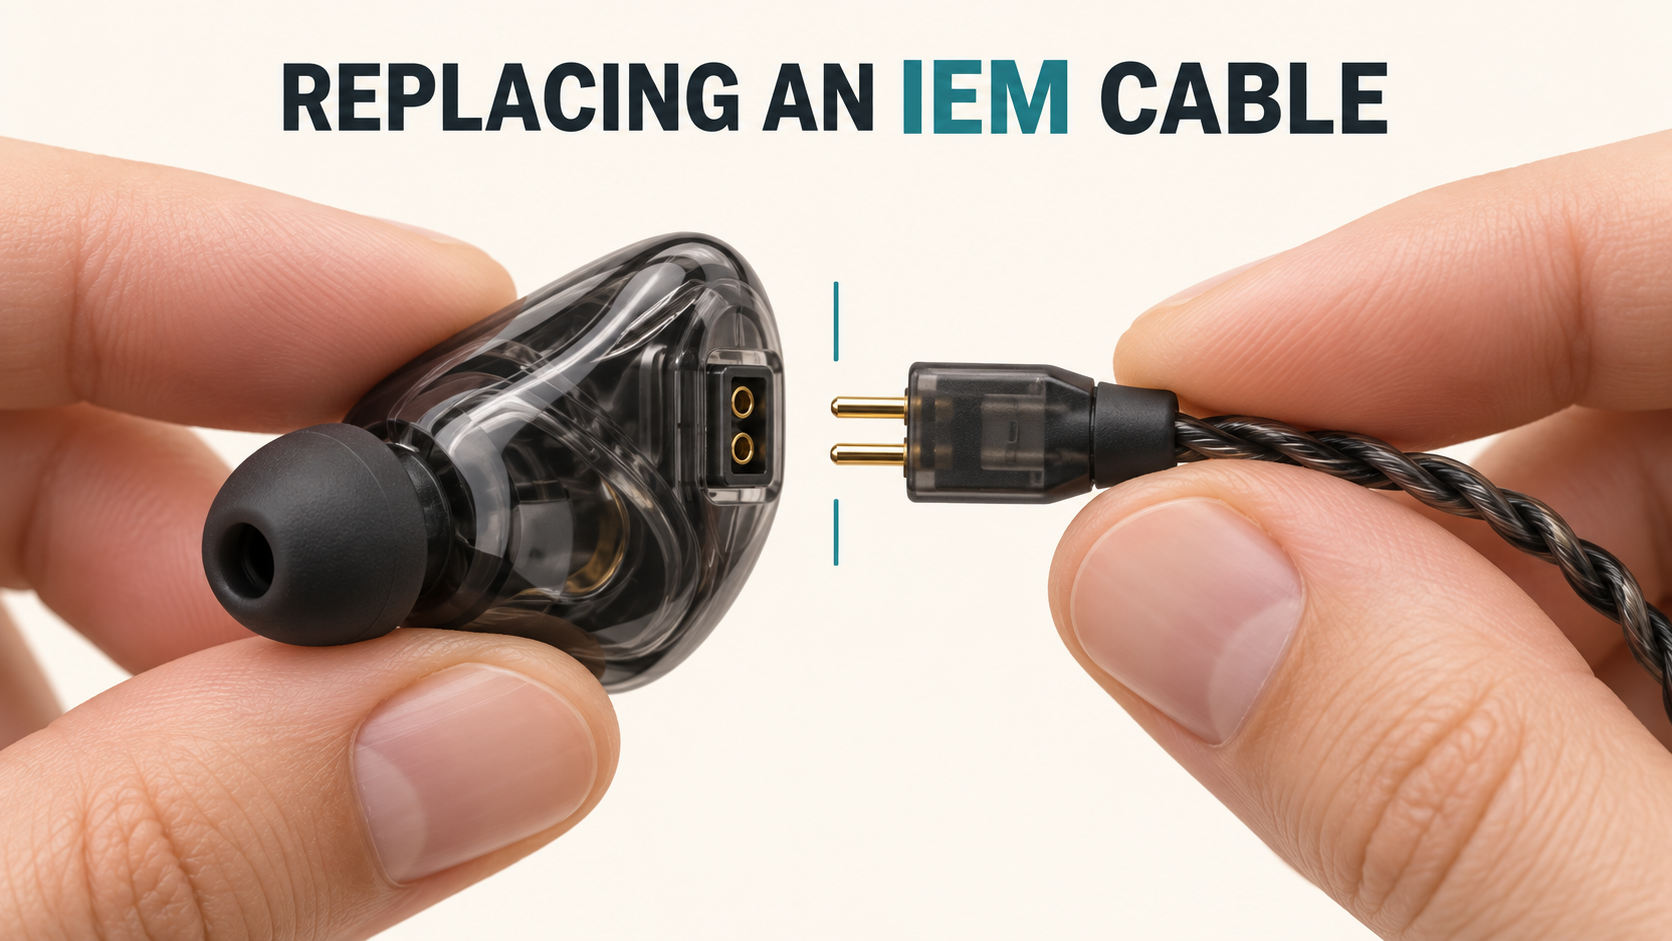
Illustration of holding the shell and connector housing while replacing an IEM cable

Replace an IEM cable only after confirming the connector type and the new cable's compatibility. A tight connector should not be treated like a screw unless the manufacturer explicitly identifies it as threaded.

Prepare before disconnecting

Stop playback, unplug from the source and work over a soft, clear surface. Identify the left and right earpieces and photograph the original cable orientation. Keep pressure away from the sound nozzle and support the shell close to the connector.

For a two-pin connection

Follow the model's removal direction. Hold the connector housing rather than the wire and separate the parts along the pin axis without twisting or levering sideways. If the housing obstructs a secure grip or the socket begins to move, stop and ask support for the proper procedure.

Before refitting, inspect the pins. Align the correct side and polarity, then insert straight using the approved orientation. Do not force pins that are bent or do not line up. A visible gap is not automatically a fault; compare with the correct model instructions instead of pressing until every housing surface touches.

For an MMCX connection

Use the manufacturer's snap-connector instructions. For example, Shure describes gripping near the joint and separating its connector straight rather than pulling the cable or twisting it as though threaded. A model-specific removal aid should only be used when approved; ordinary pliers are not a safe substitute.

On reconnection, follow the maker's seating check. Do not spin or repeatedly disconnect the joint simply to test it.

Check before listening

  1. Confirm left and right orientation and comfortable cable routing.
  2. Check that each connection is secure without applying sideways force.
  3. Attach the correct plug module to a compatible source if your cable is modular.
  4. Start playback at low volume and verify both channels.

When should I stop?

Stop for bent pins, a cracked housing, a moving socket or resistance that seems abnormal. The cost of a support request is lower than damaging a socket while trying to save a cable. Do not open the earphone shell to release a stuck plug.

Before ordering, read the connector compatibility guide or contact TINHIFI.

Reference: Shure detachable-cable handling instructions. Exact seating and removal details remain model-specific.

If the joint no longer holds securely, use the loose 2-pin connector checklist before fitting another cable.

Illustration: generated editorial artwork, not a photograph of a specific TINHIFI model.

X